How to Build a Web App with JavaScript
Finally, it is time for us to create our first real web application using JavaScript.
Initialize a new Node.js project
Let's first a new work directory with the following command:
mkdir <work_directory>And then change into it:
cd <work_directory>Under your work directory, initialize a new Node.js project:
npm init -y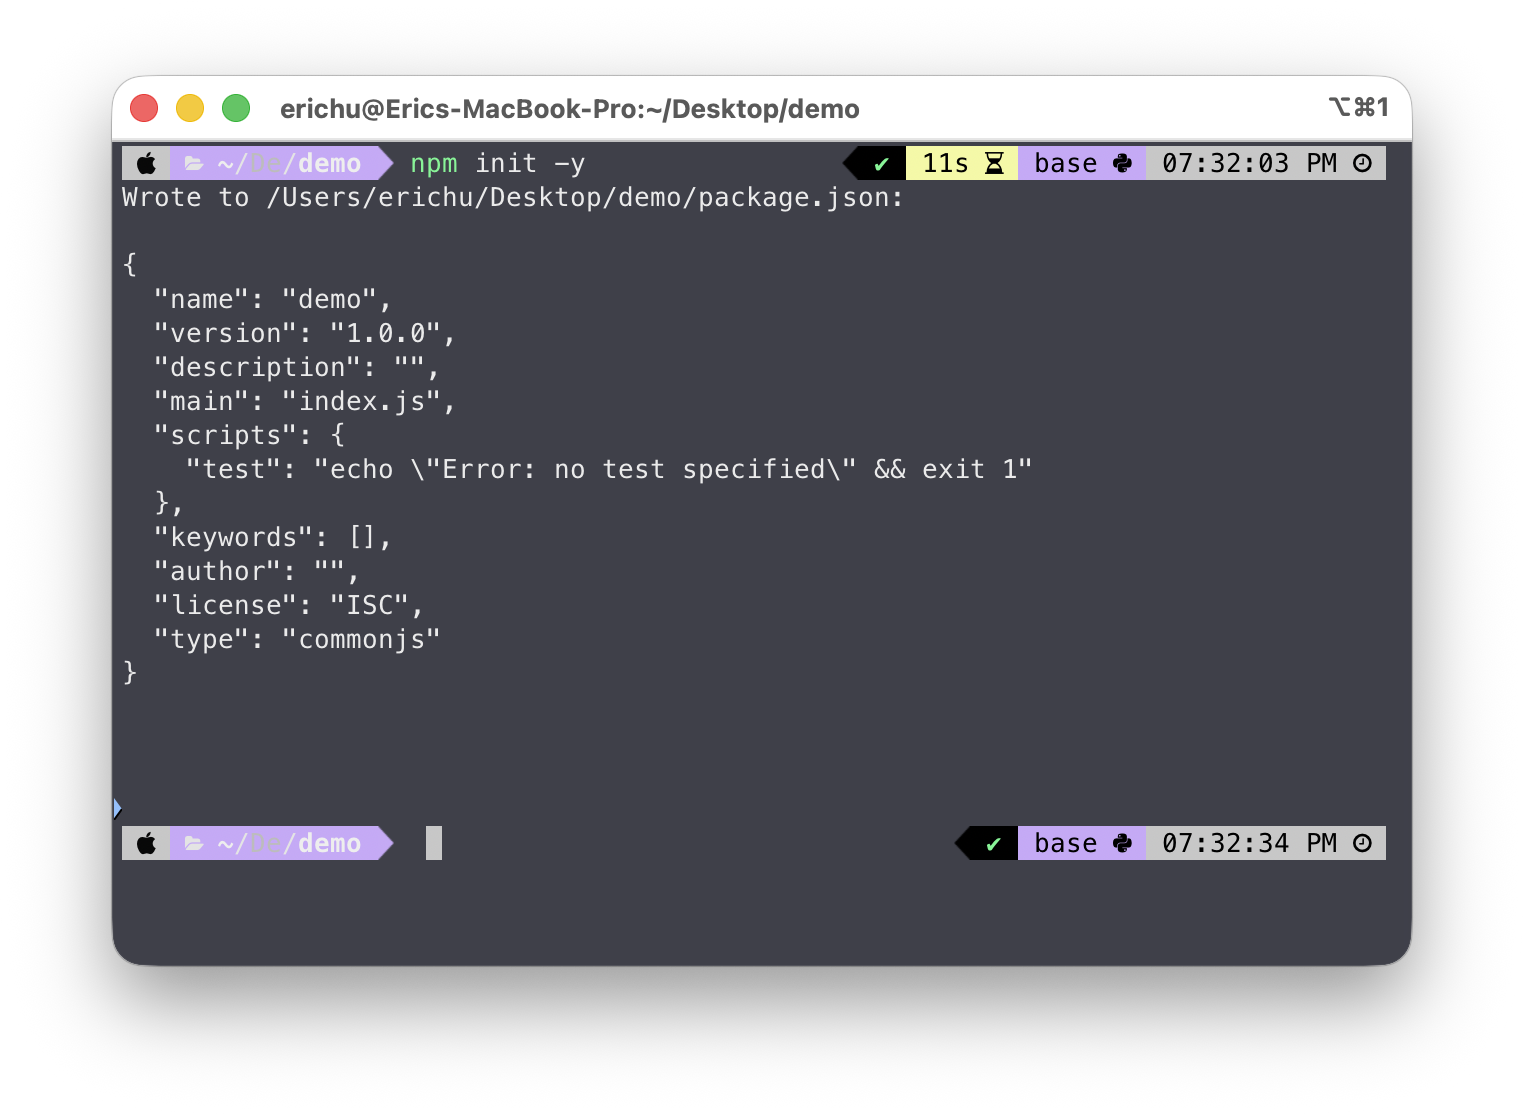
A package.json file should be generated:
<work_directory>
└── package.json
And finally, create a new server.js file and a data.txt file. server.js will contain the source code, and data.txt will act as our database.
<work_directory>
├── data.txt
├── package.json
└── server.js
The file system
There are two packages we must discuss to make our first web app.
Let's start with the file system (fs) package. It is built into Node.js, so you don't need to install anything.
This is how we can read the content of data.txt:
server.js
import { readFile } from "fs";

// Specify the file we want to read as well as the charset encoding format
readFile("data.txt", "utf8", (error, text) => {
  if (error) throw error;

  console.log(text); // Log the file content to the console
});
We can also write to data.txt like this:
server.js
import { writeFile } from "fs";

writeFile("data.txt", "Hello, World? Hello, World!", (error) => {
  if (error) {
    console.log(`${error}`);
  } else {
    console.log("File written.");
  }
});
In this case, it is not necessary to specify the encoding format. If writeFile is given a string, it will simply assume the default format, UTF-8.
The HTTP module
Another very important module we need to talk about is http. It allows us to create an HTTP server. For example:
server.js
import { createServer } from "http";

let server = createServer((request, response) => {
  response.writeHead(200, { "Content-Type": "text/html" });

  response.write(`<h1>Hello, World!</h1>`);

  response.end();
});

server.listen(8000); // Configure the HTTP server to listen on port 8000
console.log("Listening! (port 8000)");
The variables request and response each represent an object storing the incoming and outgoing data. For instance, you can access the url property of the request by using request.url.
let server = createServer((request, response) => {
  const url = request.url;

  // . . .
});
Start this server by running the following command:
node server.jsOpen your browser and go to http://localhost:8000/. You should see a Hello, World! message.
This example is fairly basic, in reality, the backend servers are usually more complex. So next, let's try something more challenging.
We are going to create a web app that asks for your name, and once you submit your name, it will be stored in a txt file, which acts as a database.
When you visit the web page again, it will greet you with your name.
Creating a web app
To get started, our server.js needs some updates. We need to consider two different scenarios:
- When you visit
http://localhost:8000/, the browser will send aGETrequest to the backend requesting an HTML page, which contains a web form. - When you submit the form, that will send a
POSTrequest to the backend.
Under the request object, there is a method property that tells you what request method is used. Our server must deal with GET and POST requests differently.
server.js
import { createServer } from "http";
import { writeFile, readFile } from "fs";

let server = createServer((request, response) => {
  if (request.method === "GET") {
    // . . .
  } else if (request.method === "POST") {
    // . . .
  }
});

server.listen(8000);
console.log("Listening! (port 8000)
Dealing with the GET request
When dealing with the GET request, you need to read the name from the data.txt file first.
server.js
// . . .
if (request.method === "GET") {
  // Read data.txt and get name
  readFile("data.txt", "utf8", (error, name) => {
    if (error) throw error;

    response.writeHead(200, { "Content-Type": "text/html" });
    // Embed name into the response
    response.write
An error will be thrown if something goes wrong while reading the file.
If not, a 200 OK response will be returned. The read data will be assigned to the variable name and be used to print the webpage.
Dealing with the POST request
As for the POST request:
server.js
// . . .
if (request.method === "GET") {
  // . . .
} else if (request.method === "POST") {
  let data;

  request.on("data", function (chunk) {
    data = chunk.toString();
  });

  request.on("end", function () {
    let name = data.split("=")[
This is when the backend receives a request to add new data, and we need to consider two different cases:
While the data is being transferred (request.on("data", . . .)), notice that there is a chunk variable inside the callback function.
server.js
// . . .
if (request.method === "GET") {
  // . . .
} else if (request.method === "POST") {
  let data;

  request.on("data", function (chunk) {
    data = chunk.toString();
  });

  request.on("end", function () {
    let name = data.split(
This variable contains the actual data that is transferred, which is a Buffer. We will discuss more about it later. For now, you only need to know that you can convert it into a string using the toString() method, which you should already be familiar with.
The converted string is then assigned to the variable data, which has a higher scope, so it can be accessed later.
server.js
// . . .
if (request.method === "GET") {
  // . . .
} else if (request.method === "POST") {
  let data;

  request.on("data", function (chunk) {
    data = chunk.toString();
  });

  request.on("end", function () {
    let name =
After the data has been transferred and received (request.on("end", . . .)), we get the name from the variable data.
server.js
// . . .
if (request.method === "GET") {
  // . . .
} else if (request.method === "POST") {
  let data;

  request.on("data", function (chunk) {
    data = chunk.toString();
  });

  request.on("end", function () {
    let name = data.split(
Recall that data has a key/value format, key=value.
And the split() method splits the string according to the given character, and the result will be returned as an array.
Putting them together, data.split("=") splits key=value into [key, value], and [1] accesses the second item in the array, which is value.
request.on("end", function () {
  let name = data.split("=")[1];

  writeFile("data.txt", name, function (error) {
    if (error) throw error;

    response.writeHead(302, { Location: "/" });
    response.end();
  });
});
Finally, the name will be stored in the data.txt file using writeFile().
Start the server with the following command:
node server.jsOpen the browser, go to http://localhost:8000/, and submit a new name. When you refresh the page or restart the server, your name should persist.
const http = require('http');

const hostname = '127.0.0.1';
const port = 3000;

const server = http.createServer((req, res) => {
  res.statusCode = 200;
  res.setHeader('Content-Type', 'text/html');
  res.end('Hello world');
});

server.listen(port, hostname, () => {
  console.log(`Server running at http://${hostname}:${port}/`);
});